If you live in Rockville, Bethesda, or anywhere served by the Washington Suburban Sanitary Commission, you're living with hard water. WSSC-supplied water from the Patuxent and Potomac rivers averages ~150 mg/L of calcium carbonate — classified as moderately hard to hard. Every drop that evaporates off your shower glass, faucet, or tile leaves behind a microscopic mineral deposit. Multiply that by every shower, every day, for months, and you get the white film that no ordinary soap or all-purpose spray can touch.
The good news: calcium carbonate is alkaline, and acid dissolves it instantly. White vinegar and lemon juice are the safest, cheapest, and most effective tools for every hard water surface in your home — no CLR, no harsh chemicals, and no risk to your septic system or the Chesapeake Bay watershed. This guide covers every surface, room by room.
Why Maryland Has Hard Water
Maryland's water hardness varies by source and region, but most of the densely populated Montgomery County area falls in the moderately hard to hard range year-round.
WSSC municipal supply
Draws from Potomac and Patuxent rivers. Average hardness 120–170 mg/L CaCO3 depending on season and treatment levels.
Private wells (rural MD)
Groundwater percolates through limestone and dolomite bedrock in western Maryland — well water can reach 300+ mg/L, classified as very hard.
Why it matters indoors
Above 120 mg/L, calcium deposits form visibly on glass and fixtures within days of cleaning. At 200+ mg/L, appliances like water heaters and dishwashers lose efficiency measurably within a year.
The chemistry in one sentence: Hard water stains are calcium and magnesium carbonate deposits. Acid (vinegar pH ~2.4, lemon juice pH ~2.0) dissolves carbonate on contact. That's why vinegar works where scrubbing alone fails — it's a chemical reaction, not just mechanical abrasion.
What You'll Need
Everything below is available at any grocery or hardware store for under $15 total. No specialty products, no Amazon orders, no chemical exposure.
White vinegar (distilled)
The workhorse. Use undiluted for heavy deposits; 1:1 with water for regular maintenance. Buy the large gallon jug — you'll use it throughout the house.
Lemon juice (fresh or bottled)
Effective alternative to vinegar for fixtures and surfaces where the vinegar smell is bothersome. Slightly less acidic but leaves a neutral scent after rinsing.
Baking soda
Mild abrasive for scrubbing paste. Mixed with a few drops of dish soap, it provides mechanical action without scratching tile, porcelain, or glass.
Microfiber cloths
Essential for final wipe-down and polishing. Microfiber lifts dissolved minerals from the surface without leaving lint. Have at least three on hand.
Spray bottle
For even vinegar application on glass and tile. A standard 32 oz trigger bottle works for most surfaces.
Non-scratch scrubbing pad
White or yellow ScotchBrite for glass and tile. Never use green ScotchBrite on glass or chrome — it scratches. An old soft toothbrush handles grout lines.
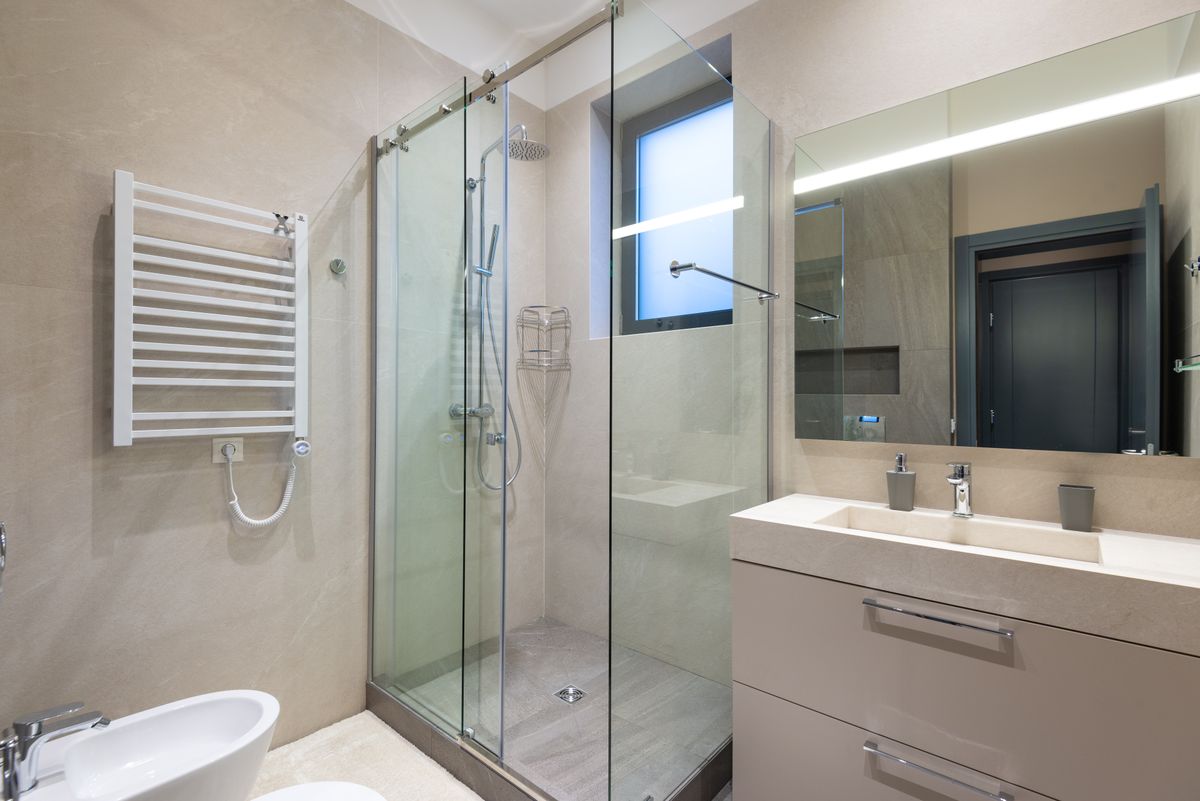
Shower Glass — 3 Steps
Shower glass is the most visible hard water surface in any Maryland bathroom and the one most people try to clean with inadequate tools. Glass cleaner and paper towels cannot dissolve calcium carbonate — they just smear it. These three steps do the job in under 30 minutes, even on glass that hasn't been deep-cleaned in months.
Saturate the glass with undiluted white vinegar
Fill a spray bottle with straight white vinegar — no water dilution. Spray every inch of the glass surface, including the frame track and lower edge where buildup is heaviest. For heavily scaled glass, soak paper towels in vinegar and press them flat against the surface so the acid maintains continuous contact. Leave for at least 5–10 minutes; for thick mineral deposits, 20–30 minutes gives significantly better results.
Scrub with a non-scratch pad using circular strokes
Use a non-scratch scrubbing pad (white or yellow ScotchBrite, or a dedicated shower scrubber) to work the dissolved mineral deposits off the glass in circular motions. Apply firm, even pressure — the vinegar has already dissolved the calcium carbonate bonds, so the scrubbing is just mechanical removal. For stubborn spots, make a paste of baking soda and a few drops of dish soap and apply it to the pad before scrubbing.
Rinse thoroughly and squeegee dry immediately
Rinse the glass completely with warm water to remove vinegar, dissolved minerals, and any baking soda residue. Immediately squeegee from top to bottom in overlapping vertical strokes — do not let the water air-dry. This single step is also the most important maintenance habit: squeegeeing after every shower prevents new deposits from forming and means you almost never need to deep-clean shower glass again.
Capital Clean Care
Hard water buildup beyond a DIY session? We've got it.
Capital Clean Care's deep cleaning service covers bathrooms, fixtures, and tile across Rockville, Bethesda, Silver Spring, and Gaithersburg. Eco-certified, no harsh chemicals.
Faucets & Fixtures — 3 Steps

Faucet bases and aerators collect the heaviest mineral deposits in the bathroom — water drips and sits there daily. Chrome tolerates vinegar well with longer contact. Brushed nickel and matte black finishes need briefer contact time (see the FAQ below).
Wrap the base in a vinegar-soaked paper towel
Saturate several layers of paper towels or a small cloth rag with white vinegar and wrap it firmly around the faucet base where the white calcium ring forms. Secure with a rubber band or simply tuck it tightly. Leave for 20–30 minutes for chrome; 5 minutes maximum for brushed nickel or matte black. The extended contact time on chrome is what dissolves built-up mineral rings that a quick wipe never reaches.
Clean the aerator with a vinegar soak
Unscrew the aerator (the small screen at the tip of the faucet — usually hand-tightens off). Drop it into a small cup or zip-lock bag filled with undiluted vinegar. Soak for 30 minutes to 1 hour. Rinse under running water and use an old toothbrush to scrub any remaining deposits from the screen. Reinstall. A clean aerator restores full water pressure and eliminates the sideways spray caused by partially blocked mineral buildup.
Polish dry with a microfiber cloth
After removing the vinegar wrap and rinsing the fixture, dry and polish immediately with a clean microfiber cloth. Air-drying leaves new water spots from the rinse water — microfiber removes all moisture and brings chrome or nickel to a streak-free shine. A drop of mineral oil on the cloth after polishing creates a light protective layer that slows future buildup.
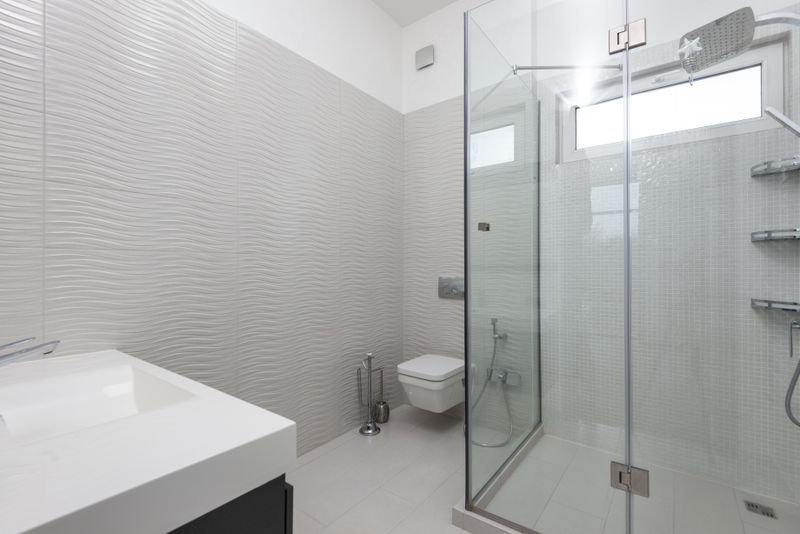
Tile & Tub Surfaces — 3 Steps
Ceramic and porcelain tile are acid-safe and respond quickly to vinegar. Grout lines concentrate mineral deposits and need a little more attention. Note: if you have natural stone tile (marble, travertine), see the FAQ — do not use vinegar or lemon on stone surfaces.
Spray tile walls with undiluted vinegar and wait
Spray all tile surfaces — walls, tub surround, and floor tiles if applicable — with undiluted vinegar. Pay extra attention to the waterline around the tub where the most concentrated deposits form. Let sit for 10–15 minutes. For thick, long-neglected deposits, apply a second coat after 5 minutes without wiping the first.
Scrub grout with a baking soda paste and toothbrush
Mix 2 tablespoons of baking soda with enough dish soap to form a thick paste. Apply the paste to grout lines with an old toothbrush and scrub in short back-and-forth strokes. The baking soda provides gentle abrasive action while the vinegar already on the surface creates a mild fizzing reaction that lifts the mineral deposits from within the grout pores. Work in sections and don't let the paste dry.
Rinse from top to bottom and dry the grout
Rinse tile walls thoroughly from the top down. Pay attention to rinsing grout lines completely — baking soda residue left in grout can attract dirt and actually make lines look darker over time. After rinsing, wipe tile surfaces with a dry microfiber cloth or use a squeegee. Leaving grout damp after cleaning is the primary reason mildew returns quickly in Maryland bathrooms.
Toilet Bowls — 3 Steps (Overnight Method)
The brown or orange ring at the waterline in toilets is iron and mineral deposits from hard water — not a hygiene failure. Standard toilet bowl cleaners mask it with fragrance but rarely dissolve it completely. The overnight vinegar method works on rings that have resisted scrubbing for months.
Pour 2 cups of white vinegar into the bowl before bed
Pour 2 cups of undiluted white vinegar directly into the toilet bowl at night, just before you go to bed. Swish briefly with a brush to distribute it around the ring. Do not flush. The extended overnight contact time (8+ hours) is what makes this method work where a 5-minute spray treatment fails — the acid needs time to dissolve thick, layered mineral deposits.
In the morning, scrub the ring with a stiff brush
After the overnight soak, the mineral ring should be significantly softened or completely dissolved. Scrub with a stiff toilet brush, paying attention to the waterline and under the rim. For any remaining spots, sprinkle baking soda on the brush before scrubbing — the mild abrasive helps with mechanically stubborn deposits the acid has already loosened.
Flush and repeat if needed for very old stains
Flush to rinse. For toilets with years of accumulated mineral buildup, one overnight treatment may lighten but not fully remove the ring. Repeat for 2–3 consecutive nights. Each treatment dissolves another layer. Pouring a cup of vinegar into the bowl weekly as maintenance prevents the ring from reforming — takes 10 seconds and keeps the overnight deep-clean from being necessary again.
Dishwasher & Coffee Maker Descaling — 2 Steps
Appliances that heat water are the most vulnerable to hard water scale. A layer of mineral buildup on a water heater element or dishwasher spray arm forces the appliance to work harder, uses more energy, and shortens the lifespan. Descaling twice a year keeps them running efficiently — no commercial descaler needed.
Dishwasher: run an empty hot cycle with vinegar
Place a dishwasher-safe cup filled with 2 cups of white vinegar on the top rack of an otherwise empty dishwasher. Run a full hot cycle. The vinegar distributes through the spray arms and interior, dissolving mineral deposits from the heating element, spray arm holes, filter, and interior walls. Follow with a second empty cycle with ½ cup of baking soda sprinkled on the bottom — this removes any vinegar smell and adds a mild scrubbing action on the interior.
Coffee maker: run a vinegar-water descale cycle
Fill the water reservoir with a 1:1 mixture of white vinegar and water. Run a full brew cycle without coffee. Pause halfway through for 30 minutes to let the vinegar solution sit in the heating element — this extended contact time dissolves calcium scale that builds up inside the element over months of use. Complete the cycle, then run two full cycles of plain water to rinse the vinegar completely before brewing coffee again. Repeat every 1–3 months depending on your water hardness.
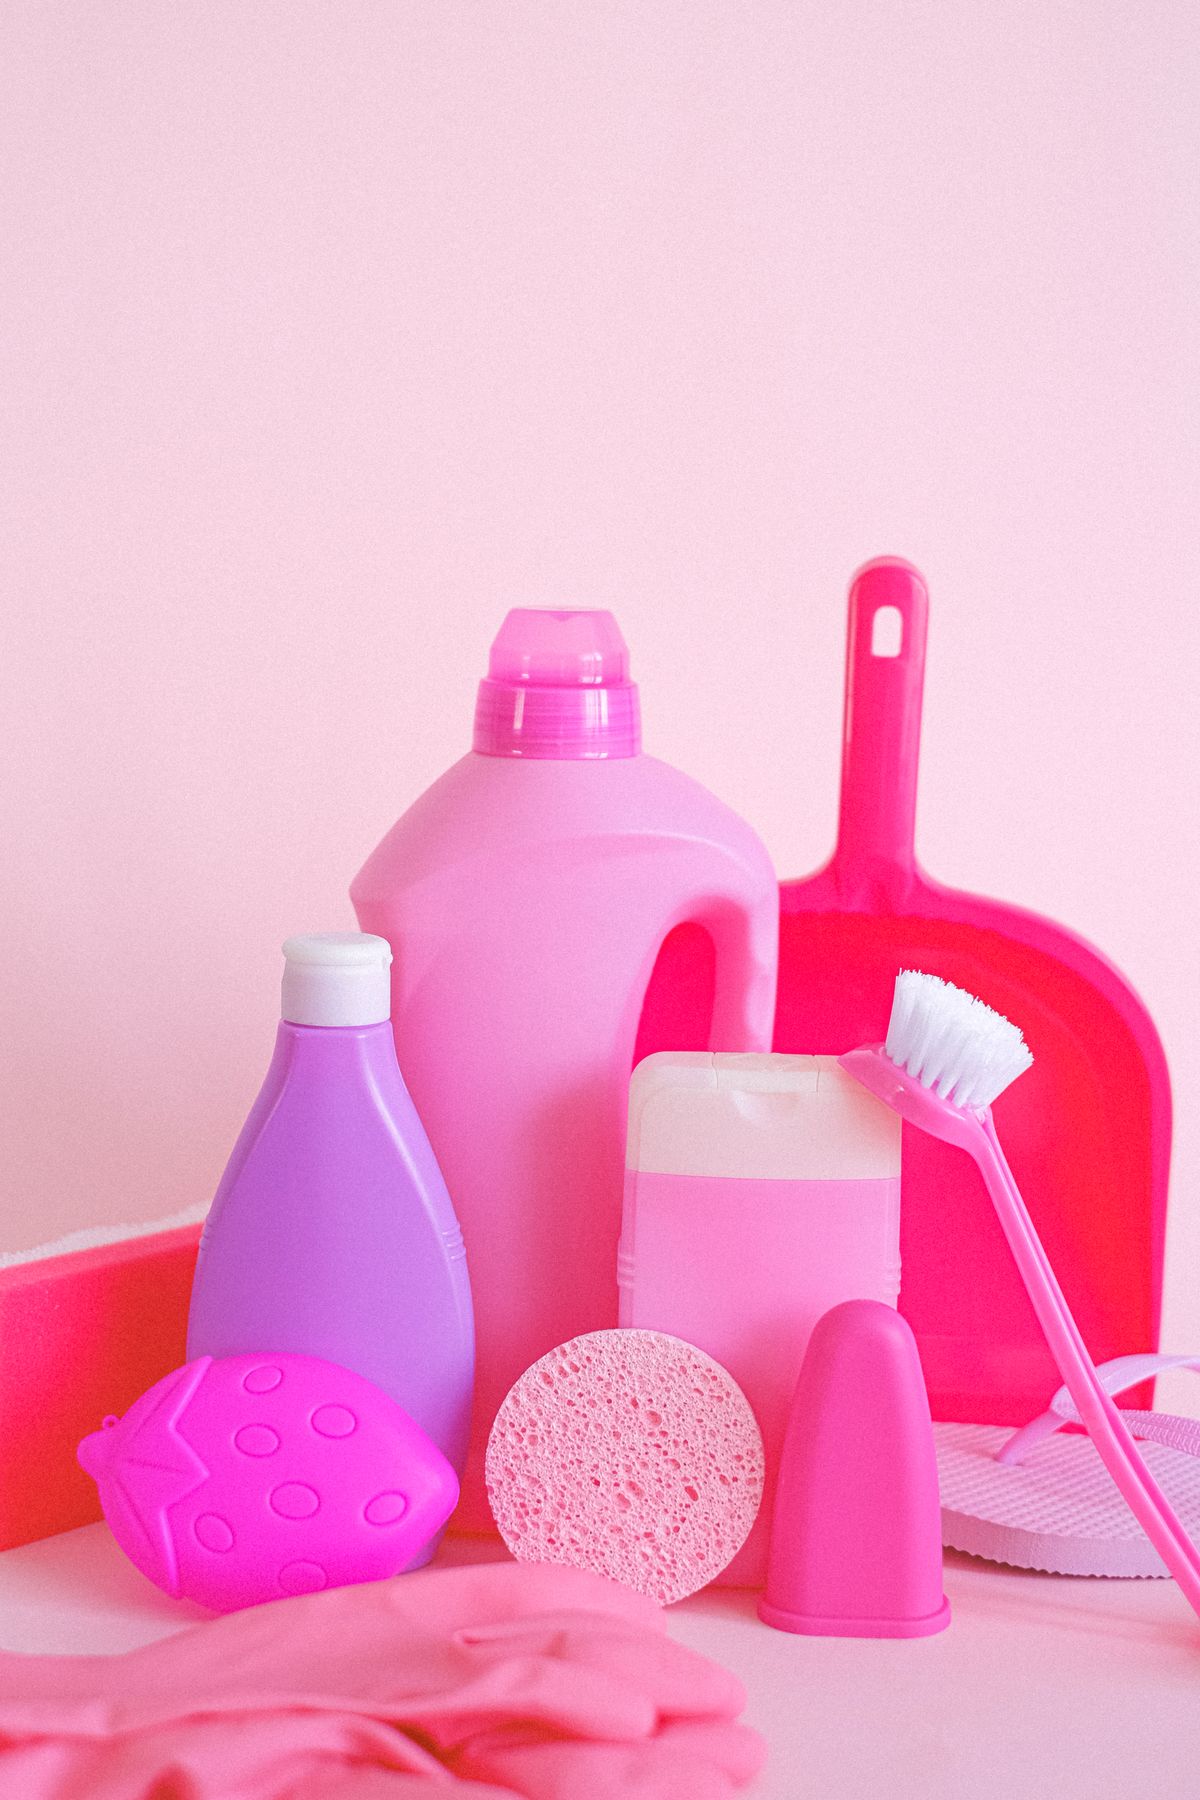
The Natural Hard Water Toolkit
The eco-safe approach to hard water removal uses two ingredients: white vinegar and lemon juice. Both are safe for Maryland's Chesapeake Bay watershed, safe for septic systems, and cost a fraction of commercial descalers. Every scenario in this guide is covered by these four tools.

Undiluted white vinegar in a spray bottle — the most effective tool for shower glass and tile.

Lemon juice works like vinegar on mineral deposits — and is safe for chrome, brass, and ceramic.

A vinegar-soaked paper towel wrapped around a faucet base dissolves the toughest calcium ring.
The result of 10 minutes of vinegar contact time and a non-scratch scrub: crystal-clear glass.
Prevent Future Buildup
With WSSC water averaging 150 mg/L of hardness year-round, prevention isn't optional — it's what separates a 15-minute weekly wipe from a two-hour quarterly deep-clean. These habits keep every surface in this guide from needing major treatment again.
Squeegee shower glass after every use
The single highest-impact habit. Takes 20 seconds. Removes all mineral-laden water before it can evaporate and deposit. A $6 shower squeegee hung on the wall eliminates the primary source of glass scale.
Weekly vinegar spray on tile and glass
A quick mist of 1:3 vinegar-to-water on shower walls and glass after the last shower of the week prevents accumulation between deep cleans. No scrubbing needed — just spray and walk away.
Wipe faucets dry after each use
Keep a microfiber cloth folded on the sink. Wiping faucets and the base of fixtures dry after use prevents the daily drip deposits that create mineral rings.
Descale appliances every 90 days
Set a quarterly reminder for dishwasher and coffee maker descaling. Hard water scale on heating elements builds invisibly — treating it before it's thick is faster and more effective.
Consider a whole-house water softener
For homes with very hard water (200+ mg/L) or new construction, a water softener eliminates scale at the source. Installation runs $1,500–3,000 in the Rockville and Bethesda area but pays back in extended appliance life and reduced cleaning time.
When You Need a Professional
Some buildup has compounded beyond DIY reach
Years of mineral deposits on glass can etch into the surface itself — creating a texture that traps future deposits and can't be removed with acid alone. At that point, professional glass polishing or panel replacement may be necessary.
Signs the job needs professional-level treatment:
- Shower glass has permanent haziness or etching that remains after vinegar treatment — the glass surface itself has been damaged
- Grout is so heavily calcified it has changed color and texture — grout replacement may be required
- Toilet bowl stains have persisted through multiple overnight vinegar treatments — iron staining may require a different treatment
- Dishwasher or appliance scale has caused mechanical failure — heating element replacement needed
- Multiple bathrooms with years of neglect — too large a scope for a single DIY session
Capital Clean Care's deep cleaning service handles bathroom mineral buildup across the Montgomery County area using the same vinegar-based protocols in this guide — scaled to cover every fixture, tile, and grout line in the home systematically. More eco cleaning methods in our eco-friendly cleaning tips for Maryland homes.
Frequently Asked Questions
Ready for Spotless Fixtures? Let Us Handle the Deep Clean.
Capital Clean Care provides deep cleaning and eco-friendly cleaning across Maryland — Rockville, Bethesda, Silver Spring, Gaithersburg, and Potomac. Vinegar-based protocols, background-checked teams, safe for septic and the Bay.
Licensed, insured, and locally owned. Montgomery County, MD.