The master bathroom in a Bethesda or Potomac home can cost more per square foot than some entire apartments — and nothing ages it faster than grout that's gone from white to gray to a shade best described as "years of neglect." The instinct is to reach for bleach. But in a home with kids crawling on the floor, pets lounging by the tub, or a private well system, chlorine bleach carries real costs: respiratory irritation from fumes, damage to colored grout, degradation of septic bacteria, and eventual runoff into the Chesapeake Bay watershed.
The better news: you don't need it. Grout stains are primarily organic matter — soap scum, body oils, mildew, and mineral deposits — all of which respond to acid, mild abrasion, and oxidation. Three methods below cover every grout condition from routine maintenance to years of neglect, all without chlorine. For more eco-friendly cleaning tips for Maryland homes, see our full guide.
Why Skip Bleach on Grout
Lung and airway irritation
Chlorine fumes from bleach reach harmful concentrations in an unventilated bathroom within seconds. With kids, elderly occupants, or anyone with asthma — common in Maryland's older housing stock — the risk is real every time you spray.
Septic system damage
Chlorine bleach kills the beneficial bacteria that process waste in septic systems. Repeated use degrades function over time. Many homes in Potomac and rural Montgomery County rely on private septic — bleach poured down drains is not a neutral act.
Chesapeake Bay impact
Maryland drains into the Chesapeake watershed. Chlorine from household bleach combines with organic material in wastewater to form chlorinated byproducts that are toxic to aquatic life and persistent in the Bay ecosystem.
Bleach also fades colored grout permanently. Gray, charcoal, and sand-toned grout are increasingly common in Maryland bathrooms — a single bleach application can create uneven lightening that can't be reversed short of regrouting. The methods below are color-safe on all grout types except where noted.
Supplies You'll Need
All three methods below draw from this list. Pick the items for the method you'll use — you won't need everything at once.
Baking soda (sodium bicarbonate)
Mild alkali and gentle abrasive — the base of Methods 1 and 2. Safe for all surfaces and septic systems.
White distilled vinegar
Acid that activates the baking soda fizz and dissolves mineral deposits. Use undiluted for grout.
3% hydrogen peroxide
Standard brown-bottle drugstore hydrogen peroxide. Oxygen-based stain remover for deeper discoloration. Breaks down to water — no toxic residue.
Castile soap (liquid)
Plant-oil based surfactant for Method 3. Dr. Bronner's unscented works well. Gentle, safe for colored grout.
Sea salt or kosher salt
Coarse abrasive for the castile soap scrub. Dissolves in water, leaves no residue.
Stiff grout brush or old toothbrush
Mechanical action is what actually removes loosened deposits. A brush with no stiffness won't do the job.
Spray bottle
For even vinegar application. A standard trigger bottle works.
Microfiber cloths (3+)
For rinsing and drying. Have several clean ones ready.

Baking soda paste clings to vertical grout lines and works while it sits — no scrubbing yet needed.
A stiff-bristled grout brush or old toothbrush provides the mechanical action the paste can't.

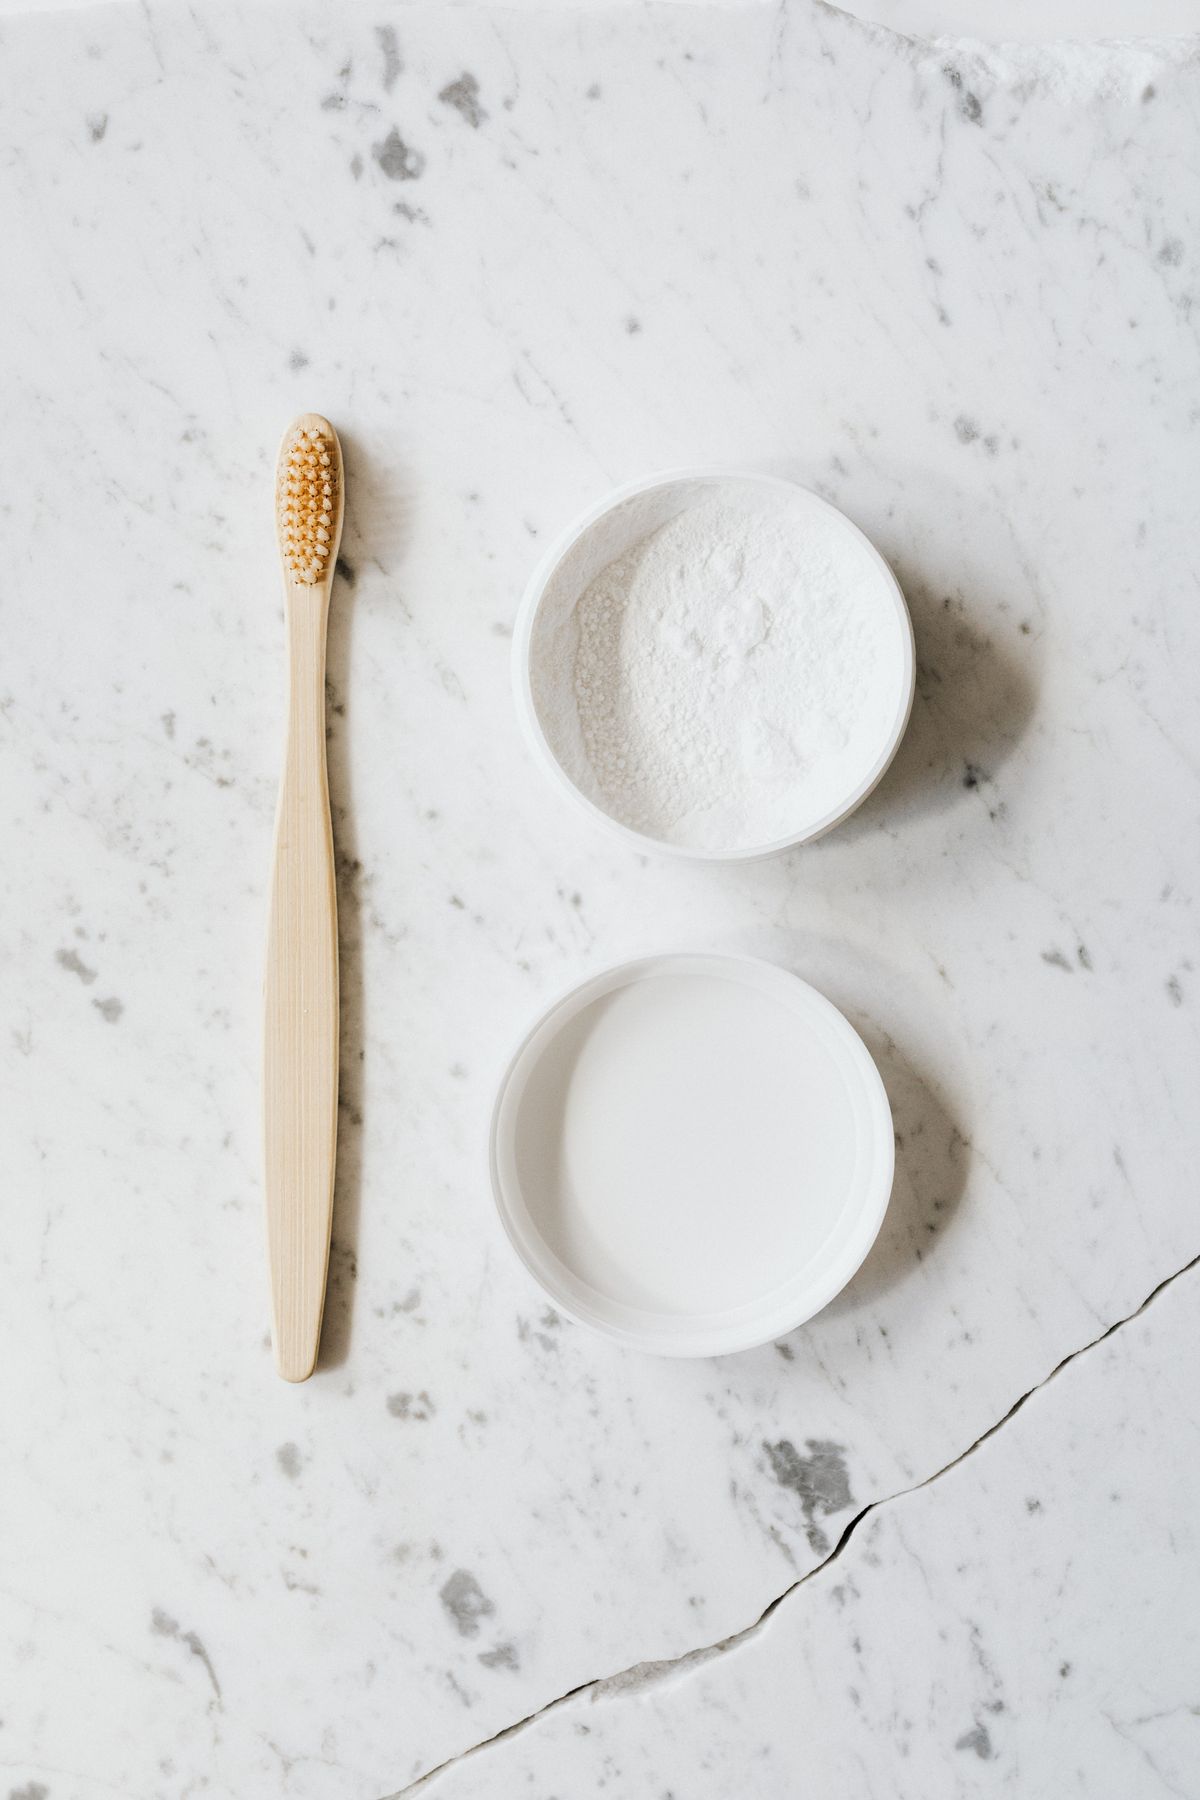
The full eco toolkit: baking soda, white vinegar, hydrogen peroxide, castile soap, and sea salt.

Method 1 result on moderate bathroom grout: white lines restored without bleach or CLR.
Method 1 — Baking Soda + Vinegar Paste
Best for: routine maintenance and moderate discoloration
This is the right starting method for most Maryland bathrooms — effective on grout that's gone from white to off-white or light gray, and safe on white, light, and colored grout lines.
Apply baking soda paste directly to grout lines
Mix ½ cup of baking soda with enough dish soap to form a thick, spreadable paste — roughly the consistency of toothpaste. Using an old toothbrush or a small spatula, work the paste directly into the grout lines. Apply generously: the paste should be visible and sitting in the groove, not just lightly coated on the surface. Let it sit for 5 minutes before the next step.
Spray white vinegar over the paste and let it fizz
Spray undiluted white vinegar directly over the baking soda paste. It will fizz immediately — this reaction is the carbon dioxide released as the acid (vinegar) meets the alkali (baking soda). The fizzing action lifts dirt and organic stains out of the grout pores while the baking soda provides gentle abrasion. Let the reaction settle for 3–5 minutes without disturbing it.
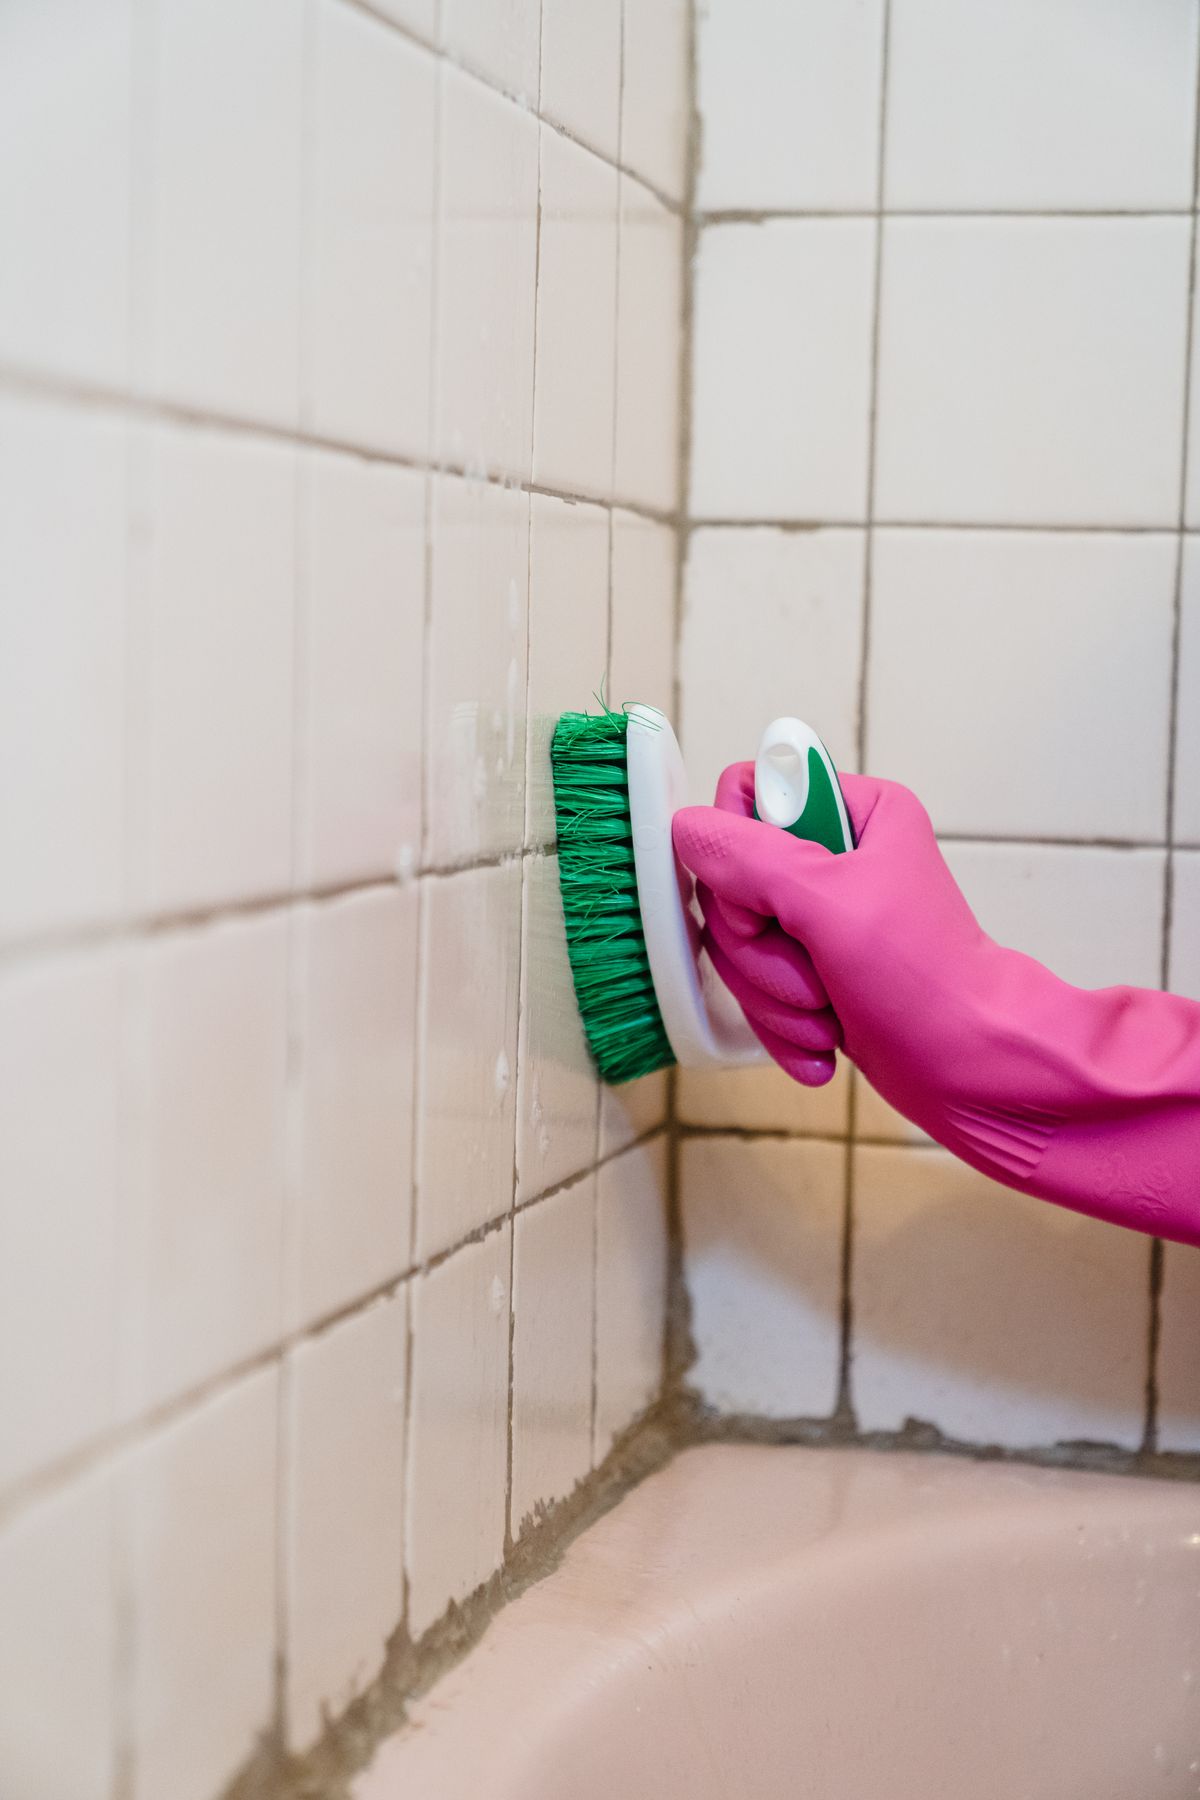
Scrub with a stiff brush in short back-and-forth strokes
Using a stiff-bristled grout brush or an old toothbrush, scrub each grout line in short, firm back-and-forth strokes — not circular. Work with the line, not across it. Apply firm pressure: you're removing loosened deposits, not just spreading the paste. For wall tiles, work from top to bottom in sections. Change brushes if yours is too soft — a brush with no stiffness does almost nothing on dried grout stain.
Rinse thoroughly and dry the grout
Rinse all treated areas with clean warm water, wiping with a damp microfiber cloth to remove paste residue completely. Baking soda residue left in grout lines attracts dirt faster than clean grout — rinse is not optional. After rinsing, wipe grout lines dry with a clean cloth or run the bathroom exhaust fan. Damp grout in Maryland's humid summers re-develops grime and mildew significantly faster than dried grout.
Drag the handle to compare

Method 1 result on bathroom floor grout — baking soda + vinegar, no bleach.
Capital Clean Care
Grout beyond a single scrub session? Let us handle it.
Capital Clean Care's deep cleaning teams cover bathrooms across Bethesda, Rockville, Silver Spring, and Gaithersburg. Eco-certified, no bleach, background-checked.
Method 2 — Hydrogen Peroxide + Baking Soda
Best for: deeper stains, soap scum, and stubborn discoloration

When Method 1 isn't enough — grout that's gone dark, old soap scum buildup, or bathroom tile in a Bethesda home that hasn't been deep cleaned in years — hydrogen peroxide provides oxygen-based bleaching that lifts stains Method 1 can't reach, without chlorine.
Mix hydrogen peroxide and baking soda into a thick paste
Combine ½ cup of 3% hydrogen peroxide (standard drugstore bottle) with enough baking soda to form a thick paste — typically 3–4 tablespoons. Optionally add a small squeeze of dish soap to improve adhesion on vertical surfaces. Mix in a small bowl. The paste should hold its shape when applied to a vertical grout line without immediately sliding down.
Apply and let sit for 10–15 minutes before scrubbing
Apply the paste to grout lines with an old toothbrush or gloved finger, pressing it into the lines. Leave undisturbed for 10–15 minutes. During this time, the hydrogen peroxide is actively releasing oxygen, which breaks the molecular bonds of organic stain compounds within the grout pores. You may see light fizzing — this is normal. After sitting, scrub with a stiff grout brush using firm back-and-forth strokes.
Rinse completely and ventilate the room
Rinse all treated areas thoroughly with warm water and wipe dry with a clean microfiber cloth. Run the bathroom exhaust fan during and after treatment. While hydrogen peroxide is far safer than bleach, it does release oxygen gas in a confined space — ventilation is good practice. The paste breaks down to water and carbon dioxide, leaving no toxic residue in your grout, pipes, or septic system.
Method 3 — Castile Soap + Salt Scrub
Best for: colored grout, weekly maintenance, and gentle surfaces
For grout that's in reasonable shape and just needs a weekly touch-up, or for dark-colored or epoxy grout where you want zero risk of any lightening effect, the castile soap and salt method is the gentlest option. It's also the best choice for households where any hint of acid (vinegar) is a concern — near natural stone, for example, where overspray is possible.
Make the castile soap and salt scrub mixture
In a small bowl, combine 2 tablespoons of liquid castile soap with 2 tablespoons of coarse sea salt or kosher salt. Stir to combine. The salt acts as a gentle abrasive that dissolves completely in rinse water, leaving no residue. Optionally add 10 drops of tea tree essential oil — it has mild antimicrobial properties that help with mildew odor in bathroom grout, without the harsh fume profile of bleach.
Apply with a brush and scrub in sections
Apply the mixture to grout lines with a toothbrush or grout brush. Work in 2-foot sections rather than treating the entire floor or wall at once — the salt begins dissolving immediately and loses abrasive effectiveness if the mixture sits too long before scrubbing. Scrub each section with firm, even strokes before moving to the next. Rinse each finished section as you go.
Rinse with warm water and buff dry
Rinse each section with clean warm water and a damp microfiber cloth. Castile soap can leave a light film if not fully rinsed — a second pass with a clean, damp cloth ensures no residue. Buff tile surfaces dry with a dry microfiber. For colored grout, the salt-free Method 3 rinse is especially important — any salt residue left in dark grout lines can create light streaks when dry.
Bonus — Steam Cleaning
Best for: no-chemical grout cleaning, maintenance between deep cleans
A handheld steam cleaner uses only water and heat — no chemicals at all — to loosen and extract grout grime. The steam penetrates grout pores and dissolves biofilm, soap residue, and surface mildew without any acid or abrasive. It's the right tool for homeowners who want a chemical-free option, or as a monthly maintenance pass between the deeper treatments above.
Work the steam nozzle slowly along each grout line
Fill your steam cleaner per manufacturer instructions and attach the narrow grout nozzle attachment. Hold the nozzle 1–2 inches from the grout surface and move slowly — 1–2 inches per second — along each line. Moving too fast doesn't give the steam enough dwell time to penetrate. For heavy buildup, make two passes. Steam cleaners reach 212°F+, which kills mildew spores and bacteria without chemicals.
Wipe immediately with a microfiber cloth as you go
Have a clean microfiber cloth or the steam cleaner's included cloth attachment ready as you go. Wipe immediately behind the nozzle — the steam loosens the grime and the cloth physically removes it before it re-deposits as the surface cools. Work in 2-foot sections: steam a section, wipe, move forward. Don't steam an entire wall or floor before wiping — the loosened grime re-deposits as it cools.
How to Keep Grout Clean
The best grout-cleaning session is the one you don't need. Maryland's humid summers — with dew points regularly above 70°F from June through August — accelerate mildew and soap scum accumulation in bathrooms more than most homeowners realize. These habits interrupt that cycle.
Seal grout after every deep clean
Grout sealer creates a hydrophobic barrier that repels water and staining agents. Sealed grout is dramatically easier to wipe clean and resists mildew growth. Apply after grout is fully dry (24–48 hours post-cleaning). Floor grout: reseal annually. Wall grout: every 2–3 years.
Daily squeegee on shower walls
Wiping shower tile walls after every use removes the soap and mineral residue before it dries into grout lines. A 20-second habit that eliminates most grout maintenance.
Run the exhaust fan during and 20 minutes after every shower
Maryland summer air at 75°F and 70% humidity entering a bathroom makes grout wet 24 hours a day. An exhaust fan rated for the bathroom size (CFM ≥ room square footage) is the most effective long-term anti-mildew investment.
Weekly baking soda spray on floor grout
Keep a spray bottle of 2 tablespoons baking soda dissolved in a quart of warm water near the shower. A 30-second spray on floor grout lines once a week prevents the accumulation that leads to Method 2-level deep cleans.
When You Should Call a Professional
Some grout conditions exceed what DIY methods can fix
When grout has years of compacted buildup, active black mold growth behind the tile, or structural damage from water intrusion, cleaning the surface doesn't solve the underlying problem.
- Grout remains noticeably dark after two full applications of Method 2 — the stain has penetrated too deeply for surface cleaning
- Grout is crumbling, cracked, or missing in sections — regrouting needed before cleaning matters
- Black mold returns within days of cleaning — active moisture intrusion behind the tile requires a plumber or tile contractor
- Tile is loose, hollow-sounding, or separating from the wall — water has likely damaged the substrate
- Multiple bathrooms or large tiled areas that would take multiple full days to treat manually
For surface-level grout that needs systematic, room-by-room treatment, Capital Clean Care's deep cleaning service handles it completely using the eco-safe protocols in this guide — no bleach, no chemical residue, safe for the Maryland watershed.
Frequently Asked Questions
Want Results Like the "After"? Let Our Team Do It.
Capital Clean Care provides deep cleaning and eco-friendly cleaning across Maryland — Bethesda, Rockville, Silver Spring, Gaithersburg, and Potomac. No bleach, no fumes, background-checked teams.
Licensed, insured, and locally owned. Montgomery County, MD.